Scan Performance Tuning
By default, Security for Bitbucket:
Distributes scanning to every Bitbucket Data Center node
Server installations are treated as single-node Data Center installations
Runs 2 scans in parallel per Bitbucket node.
Scans beyond the number of scans run in parallel are stored in a queue. This queue is accessible to all Bitbucket nodes. You can turn on debug logging to see detailed information about the scans being run on each node.
Viewing and changing parallel scans
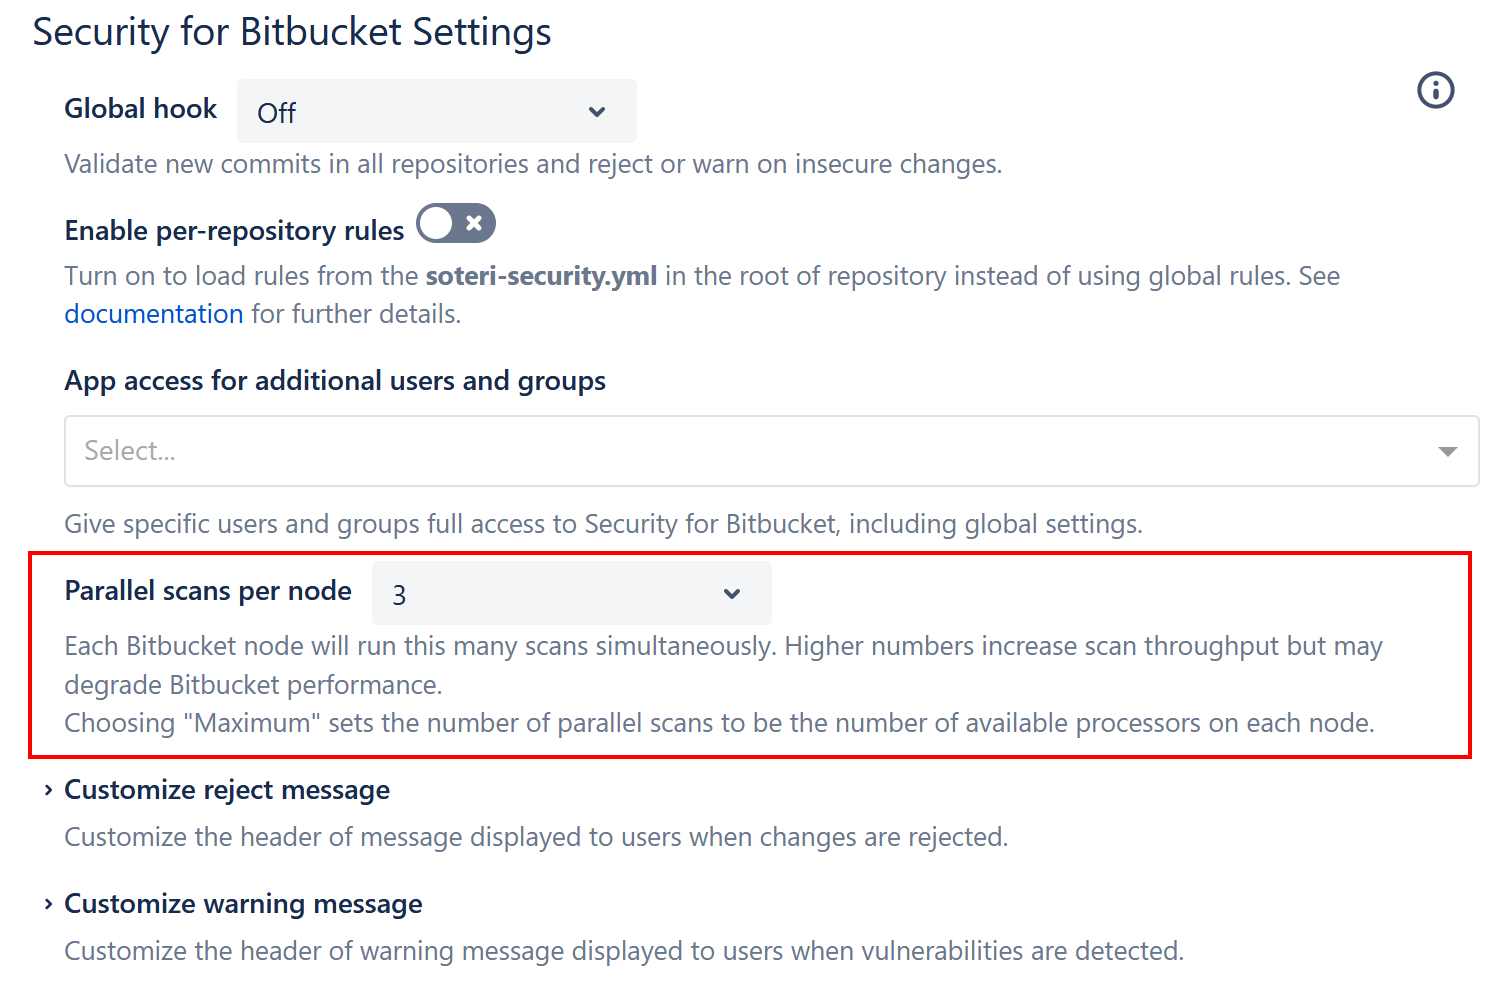
To speed up scanning, you can change the number of parallel threads used by Security for Bitbucket during scans via the settings page. Select the desired number of parallel scans per node in the corresponding drop-down box:

By default, your current setting should be automatically selected.
For example, if you choose “4”, this will change the number of scan threads on every Bitbucket node to 4.
To maximize scanning performance, choose "Maximum" to use all available CPUs on each node, but be advised that this can affect overall Bitbucket performance dramatically.
This setting is stored and persists upon plugin update and Bitbucket restarts.
Troubleshooting number of available processors
In certain situations, the number of processors detected by Security for Bitbucket might not match the number of processors actually available to the server. If you are running in a Docker deployment and believe you should have more processing power available, you should update your JVM flags as discussed in https://www.databasesandlife.com/java-docker-aws-ecs-multicore/.
Changing parallel scans programmatically
You may change the number of parallel scans with the following API call:
curl -u admin -X PUT https://{bitbucket.server}/rest/security/latest/status/active/{size}adminis your Bitbucket admin user (you’ll be prompted for a password)bitbucket.serveris URL of your Bitbucket serversizeis the number of parallel scan threads used per Bitbucket node.
For instance, setting size to 4 will change the number of scan threads on every Bitbucket node to 4. As a performance consideration, the requested number of threads is clamped to the available number of CPUs. To maximize scanning performance, you can specify the value 0 to use all available CPUs, but be advised that this can affect overall Bitbucket performance dramatically.
Security for Bitbucket does not currently support configuring a different number of parallel threads on different Bitbucket nodes.
To obtain the number of parallel scans, perform the following API call:
curl -u admin -X GET https://{bitbucket.server}/rest/security/latest/cluster/worker-pool/sizeadminis your Bitbucket admin user (you’ll be prompted for a password)bitbucket.serveris URL of your Bitbucket server
This call returns a positive integer which is the configured number of parallel scans. Note that if this setting was set to 0 (to set number of threads to the number of available CPUs), the returned number will be the actual number of available CPUs, not 0.
Modifying which Bitbucket nodes run scans
If you have multiple Bitbucket Data Center nodes running, you can choose which ones run scans. This feature current is only supported via the REST API.
Name the nodes that should participate in scanning
Note that Bitbucket Data Center will not prevent you from naming nodes identically. If two nodes are named identically, and Security for Bitbucket is configured such that scans should run on that node name, then scans will run on both nodes.
Use Bitbucket’s concept of naming cluster nodes to name the nodes you wish to participate in scanning. See the Atlassian’s documentation on Adding and removing Data Center nodes (Item 3 under “Adding a node”).
See and change which nodes are running scans
To see which nodes are participating in scanning:
curl -u admin -X GET https://{bitbucket.server}/rest/security/latest/cluster/scan-nodesadminis your Bitbucket admin user (you’ll be prompted for a password)bitbucket.serveris URL of your Bitbucket server
This will return a JSON formatted response which looks like this:
{
  "scanNodeNames": [],
  "message": "Scan node configuration is empty. All nodes will participate in scanning"
}
To change which nodes run scans, for instance:
curl -u admin -X PUT https://{bitbucket.server}/rest/security/latest/cluster/scan-nodes -H "Content-Type: application/json" -d -d '{"scanNodeNames": [{scanNodeNames}]}'adminis your Bitbucket admin user (you’ll be prompted for a password)bitbucket.serveris URL of your Bitbucket serverscanNodeNamesis a list of the node names you want to participate in scanning, e.g."bitbucket-scan-node1", "bitbucket-scan-node2".
To reset back to the default behavior, where all nodes participate in scanning, make scanNodeNames empty:
curl -u admin -X PUT https://{bitbucket.server}/rest/security/latest/cluster/scan-nodes -H "Content-Type: application/json" -d -d '{"scanNodeNames": []}'Verifying distributed scanning
To verify that Security for Bitbucket was successful in setting up a distributed scan queue in your Bitbucket installation, perform the following API call:
curl -u admin -X GET https://{bitbucket.sever}/rest/security/latest/status/cluster/distributed-scanning-enabledThis call will either return true if Security for Bitbucket was able to set up distributed scanning, or false if something went wrong. If distributed scanning isn’t working in your Bitbucket setup, please contact our support team.
